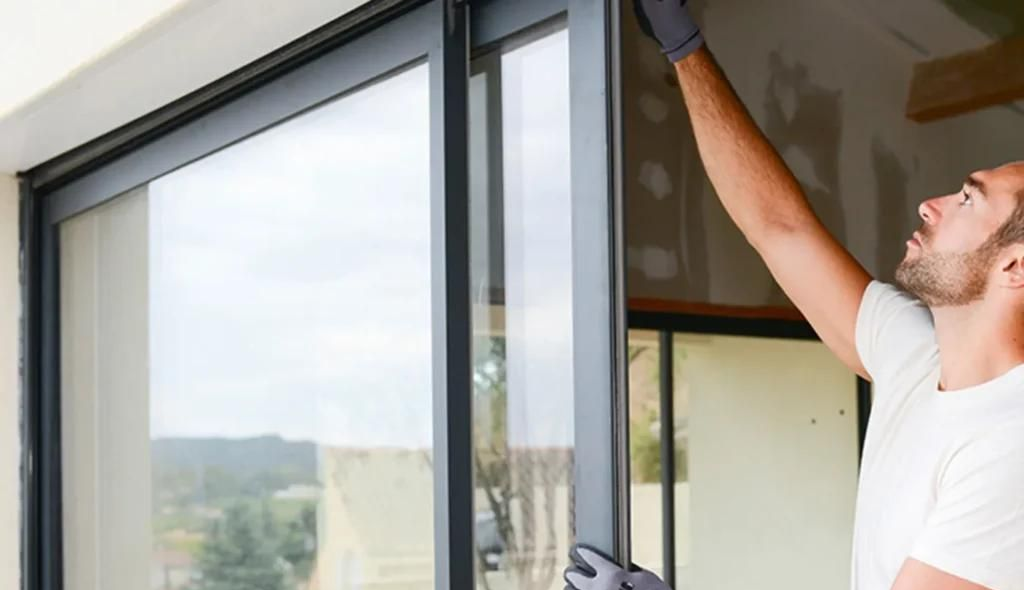
Steps to Prepare Your Home for a Window Film Installation
Getting ready for a residential window tint installation might not seem like a big task, but a few simple steps can make the whole process smoother. When we prepare ahead of time, we help our installers work more efficiently, and things tend to go much more quickly.
Window tinting isn’t just for hot summer light. During winter, especially in January, it can help reduce glare from low sunlight and make our homes feel a little warmer and more private. So if we’re scheduling an installation during these cold months, it's smart to do just a little prep work. Setting things up properly keeps the process stress-free and helps everything turn out as expected.
Solarworks Glass Tinting has been serving homeowners in
Roswell, Georgia, and the North Metro Atlanta area since 1988, so we have a long history of making residential window film installations feel organized and straightforward.
Clear the Area Around the Windows
One of the best ways to help before an installation is to make space around the windows. It’s a small thing that makes a big difference.
Here are a few things we recommend doing beforehand:
• Move furniture like chairs, couches, and tables a few feet away from each window
• Take down any window decorations including curtains, blinds, or hanging plants
• Clear nearby surfaces such as shelves or end tables that hold lamps or fragile items
This step gives us room to work, and it protects your belongings from any dust, moisture, or tools that might be used. Some larger windows may need more space than others, especially bay or floor-to-ceiling windows. Planning ahead for those makes things go much faster once we’re on site.
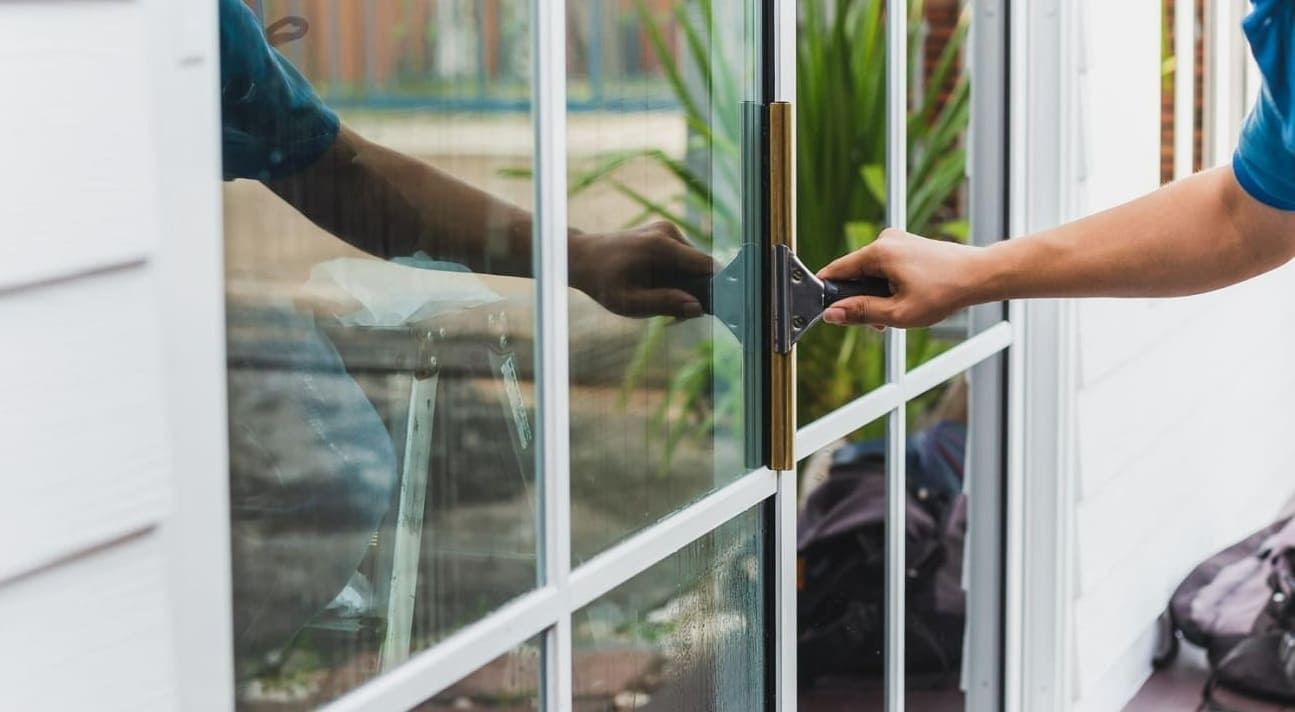
Clean Your Windows and Window Sills
Dust and dirt can get in the way during a window film application. Even light build-up can affect how the film sticks to the glass.
Before the appointment, we suggest giving the area a quick check:
• Wipe down the glass to remove any visible smudges or fingerprints
• Dust the window sills, trim, and surrounding frames
• Check for pet hair or cobwebs in corners near the glass
This kind of prep doesn’t need to be perfect. We’ll take care of the detailed cleaning needed for the application itself. But making sure the surfaces aren't coated in dust or grime helps save time and supports a cleaner finish.
Secure Any Pets and Plan Around Children
We know home installations can be a little chaotic, especially in households with pets or young kids. For everyone's safety and peace of mind, it's helpful to keep clear of the work zone.
Here's how to prepare:
• Keep pets in a separate room while we’re working
• Talk to children about avoiding the windows during installation
• Let family members know which areas of the house are being used
This isn’t just about keeping things on schedule. Window installation involves tools, ladders, and film that shouldn’t be touched. A quiet, distraction-free space helps us work better and faster and makes the experience more relaxed for you too.
Review Window Conditions with Your Installer
Before the appointment begins, it's a good idea to take a look at your windows. Cold or wet winter weather can bring out issues we usually don’t think about, like moisture inside panes or small chips around the edges.
Doing a quick check in advance helps get everyone on the same page:
• Point out any damage like tiny cracks, chipped corners, or fog between panes
• Let us know if you've had leaks or drafts near specific windows
• Ask if weather conditions could delay drying or curing, especially during chilly Georgia winter days
Older or uniquely shaped windows can sometimes require a slightly different plan. Letting us know what you're working with helps prepare the best solution.
Know What to Expect After the Installation
Once the film is installed, there’s a short period of adjustment. This is normal, and part of the process. Being ready for this step prevents surprises and helps the film last longer.
Here’s what to keep in mind afterward:
• Don’t clean or wipe down your windows for a few days
• Leave the film untouched to prevent bubbles or lifting
• Some minor moisture or haziness can appear, but it usually clears on its own
The length of the drying period depends on both the type of film used and the current weather. In cooler months like January, it might take a little longer. That’s nothing to worry about, and we’ll guide you through the details before we finish. As an authorized LLumar SelectPro Dealer, Solarworks Glass Tinting installsVista window films for residential projects, so you can expect
professional-grade materials along with a careful installation process.
Enjoy a Quieter, More Comfortable Home
Getting ready for a residential window tint installation doesn’t take a lot of effort, but it helps everything go more smoothly. By making space around the windows, giving them a quick clean, and setting up a distraction-free zone, we make things better for everyone involved.
These small steps add up to a better result. The film can look smoother, cure more cleanly, and last longer through the seasons. Plus, it just feels good to do our part in making the experience a positive one. Taking time to prepare gives us confidence from start to finish, and helps the benefits of our updated windows show up right away. TheVista and Llumar residential window films we install can lower your energy costs by up to 15 percent and block 99 percent of dangerous UV rays, so once the film has cured, you can
enjoy added comfort and protection without changing the look of your windows.
Planning your next project ahead can make a big difference in how smoothly your appointment goes. We are here to help every step of the way from clearing space to checking for any issues with your windows. A clean setup makes installation easier and helps the film settle evenly in the days that follow. For more details on what to expect from aresidential window tint installation, give Solarworks Glass Tinting a call and we would be happy to talk.